Getting the software installed on your Raspberry Pi is pretty easy, if you're comfortable with the command line. Just
download the Newbound Network jar file and set up an SD card for your Raspberry Pi with the latest version of Java. That's what this guide will walk you through... Let's get started!
Download the Newbound Network ZIP file:
https://www.newbound.com/download/
Download the latest image of Raspbian:
https://www.raspberrypi.org/downloads/raspbian/
Burn this image onto your SD card (instructions here:
https://www.raspberrypi.org/documentation/installation/installing-images/README.md).
Plug the SD card into your Pi, plug the Pi into your network with an Ethernet cable and start it up. Once it has started up, you should be able to
locate the Pi on your network and connect to it via your favorite ssh client or connect a monitor and keyboard to it. Log in as "pi" with the password "raspberry".
Pretty much everything we're about to do requires root privileges, so log in as root:
sudo su -
If ssh is not starting up when your Raspberry Pi boots, but you would like it to, enter the following:
update-rc.d ssh defaults
update-rc.d ssh enable
service ssh start
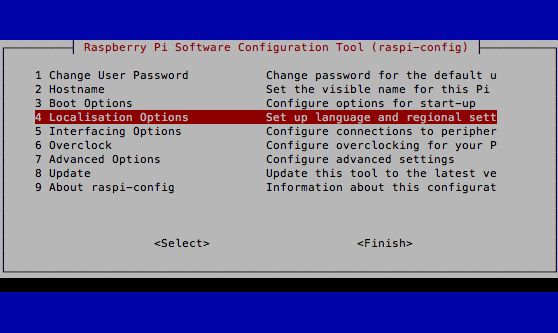
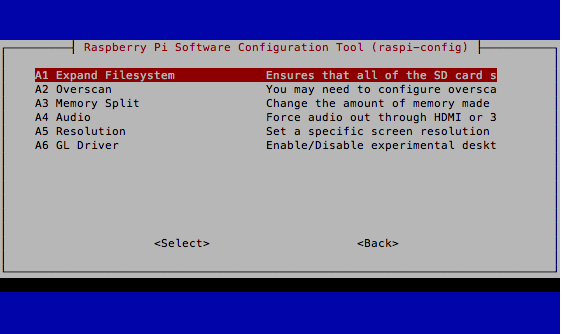
First things first, you'll want to reconfigure some things using the "raspi-config" tool:
apt-get update

apt-get dist-upgrade -y

raspi-config
Now, use raspi-config to "Expand Filesystem" and set your "Localisation Options". Then select "Finish" and "Reboot". Log back in as root when the device has finished rebooting.
Set up some environment variables to make this install easier. Replace the following with values for your own network:
export MYID=[NEW NAME OF THIS DEVICE]

export MYPASS=[NEW PASSWORD FOR THIS DEVICE]

export MYSSID=[YOUR WIFI ACCESS POINT ID]

export MYWIFIPASS=[YOUR WIFI ACCESS POINT PASSWORD]
Now set the hostname of your device:
echo $MYID > /etc/hostname
If you would like to be able to log in directly as root via ssh, edit the "/etc/ssh/sshd_config" file and change the line that says "PermitRootLogin without-password" to "PermitRootLogin yes". Then enter:
echo "root:$MYPASS" | chpasswd
Now it's time to install a bunch of software:
apt-get install debian-keyring build-essential zip libusb-1.0.0 firmware-linux-nonfree wireless-tools wpasupplicant firmware-ralink firmware-realtek firmware-brcm80211 openjdk-7-jdk git arp-scan -y
Now, go mow the lawn or something... This will take a long time to finish.
But we're not finished yet! When that's done, enter the following via the command line to setup your wifi:
printf "\nnetwork={\n ssid=\"$MYSSID\"\n psk=\"$MYWIFIPASS\"\n}\n" >> /etc/wpa_supplicant/wpa_supplicant.conf
Finally, let's actually install the Newbound Network software! Create a new file at "/etc/init.d/newbound" with the following content:
#!/bin/sh

### BEGIN INIT INFO

# Provides:          newboundnetwork

# Required-Start:    $local_fs $remote_fs $network $syslog

# Required-Stop:     $local_fs $remote_fs $network $syslog

# Default-Start:     2 3 4 5

# Default-Stop:      0 1 6

# X-Interactive:     true

# Short-Description: Start/stop newboundnetwork server

### END INIT INFO


case $1 in

    start)

        if [ -f /root/Newbound/pid ]; then

            PID=$(cat /root/Newbound/pid);

            echo "Stopping newboundnetwork ..."

            kill $PID;

            echo "Newbound Network stopped ..."

            rm /root/Newbound/pid

        fi


        echo "Starting newboundnetwork ..."

        if [ ! -f /root/Newbound/pid ]; then

            cd /root/Newbound/src

            mkdir ../bin

            javac -d ../bin/ Startup.java

            nohup java -cp ../bin Startup 2>> /dev/null >> /dev/null &

            echo $! > /root/Newbound/pid


            echo "Newbound Network started ..."

        else

            echo "Newbound Network is already running ..."

        fi

    ;;

    stop)

        if [ -f /root/Newbound/pid ]; then

            PID=$(cat /root/Newbound/pid);

            echo "Stopping newboundnetwork ..."

            kill $PID;

            echo "Newbound Network stopped ..."

            rm /root/Newbound/pid

        else

            echo "Newbound Network is not running ..."

        fi

    ;;

    restart)

        if [ -f /root/Newbound/pid ]; then

            PID=$(cat /root/Newbound/pid);

            echo "Stopping newboundnetwork ...";

            kill $PID;

            echo "Newbound Network stopped ...";

            rm /root/Newbound/pid


            echo "Starting newboundnetwork ..."

            cd /root/Newbound/src

            mkdir ../bin

            javac -d ../bin/ Startup.java

            nohup java -cp ../bin Startup 2>> /dev/null >> /dev/null &

            echo $! > /root/Newbound/pid

            echo "Newbound Network started ..."

        else

            echo "Newbound Network is not running ..."

        fi

    ;;

esac
Now enter the following into the command line:
chmod 755 /etc/init.d/newbound

update-rc.d newbound defaults

mkdir Newbound
Finally, copy the Newbound Network ZIP file to the "/root/Newbound" directory and unzip it there. Congratulations, you're done! You should be able to unplug the Ethernet at this point and reboot your device. Within about 5 minutes you should be able to connect to it with a web browser on port 5773. A short setup page will guide you configuring the Newbound Network on your Raspberry Pi.
OPTIONAL: Install Phidgets
Newbound has a handy library for interacting with devices from
Phidgets. To use it, you'll need to install some additional software:
mkdir phidgets

cd phidgets/

wget http://www.phidgets.com/downloads/libraries/libphidget.tar.gz

wget http://www.phidgets.com/downloads/libraries/phidgetwebservice.tar.gz

wget http://www.phidgets.com/downloads/libraries/phidget21jar.zip

tar -xzf libphidget.tar.gz

cd libphidget-*

./configure

make

make install

cd ../

tar -xzf phidgetwebservice.tar.gz

cd phidgetwebservice-*

./configure

make

make install

cd ../

unzip phidget21jar.zip

cd ../
Now, modify the "/etc/init.d/newbound" file and change the two lines that say "nohup java -cp /root/Newbound/powerstrip.jar com.newbound.robot.launcher.BotLauncher 2>> /dev/null >> /dev/null &" to "nohup java -cp /root/phidgets/phidget21.jar:/root/Newbound/powerstrip.jar com.newbound.robot.launcher.BotLauncher 2>> /dev/null >> /dev/null &".
You'll also need to run the Newbound App Store app on your Raspberry Pi and install the Phidget app.
OPTIONAL: Configure motion
If you want to use your device as a security camera with motion capture, you will need to install some more software. Be forewarned, this will take a ridiculously long time. From the command line:
apt-get install libjpeg-dev libass-dev libmp3lame-dev libx264-dev git -y

git clone git://source.ffmpeg.org/ffmpeg.git ffmpeg;

cd ffmpeg/

./configure --enable-libfreetype --enable-gpl --enable-nonfree --enable-libx264 --enable-libass --enable-libmp3lame --bindir="/usr/local/bin"

make

make install

cd ../

apt-get install v4l-utils motion -y
Now, edit the file /etc/rc.local and add the following lines towards the bottom before the line that says, "exit 0":
motion

modprobe bcm2835-v4l2
Now, edit the file /etc/motion/motion.conf and change the line that starts with "#on_event_end" to: "on_event_end wget -O x.txt http://localhost:5773/motion/event".
Don't forget to remove the "#" at the beginning of the "on_event_end" line!
You'll also need to run the Newbound App Store app on your Raspberry Pi and install the Motion app.
If you would like the device to automatically archive captured video to a USB drive, make sure exactly one USB drive is connected, and that it has a directory called "archive" at its top level. Then add the following to "/etc/fstab":
/dev/sda1 /mnt/usb vfat nofail,auto,noatime,rw,user 0 2
NOTE: This drive will need to be plugged in whenever you reboot your Pi in order for your Pi to find it.
