Assembly
The unit has four main hardware components and a printable case. Links for electronics and 3D printed parts are provided below.
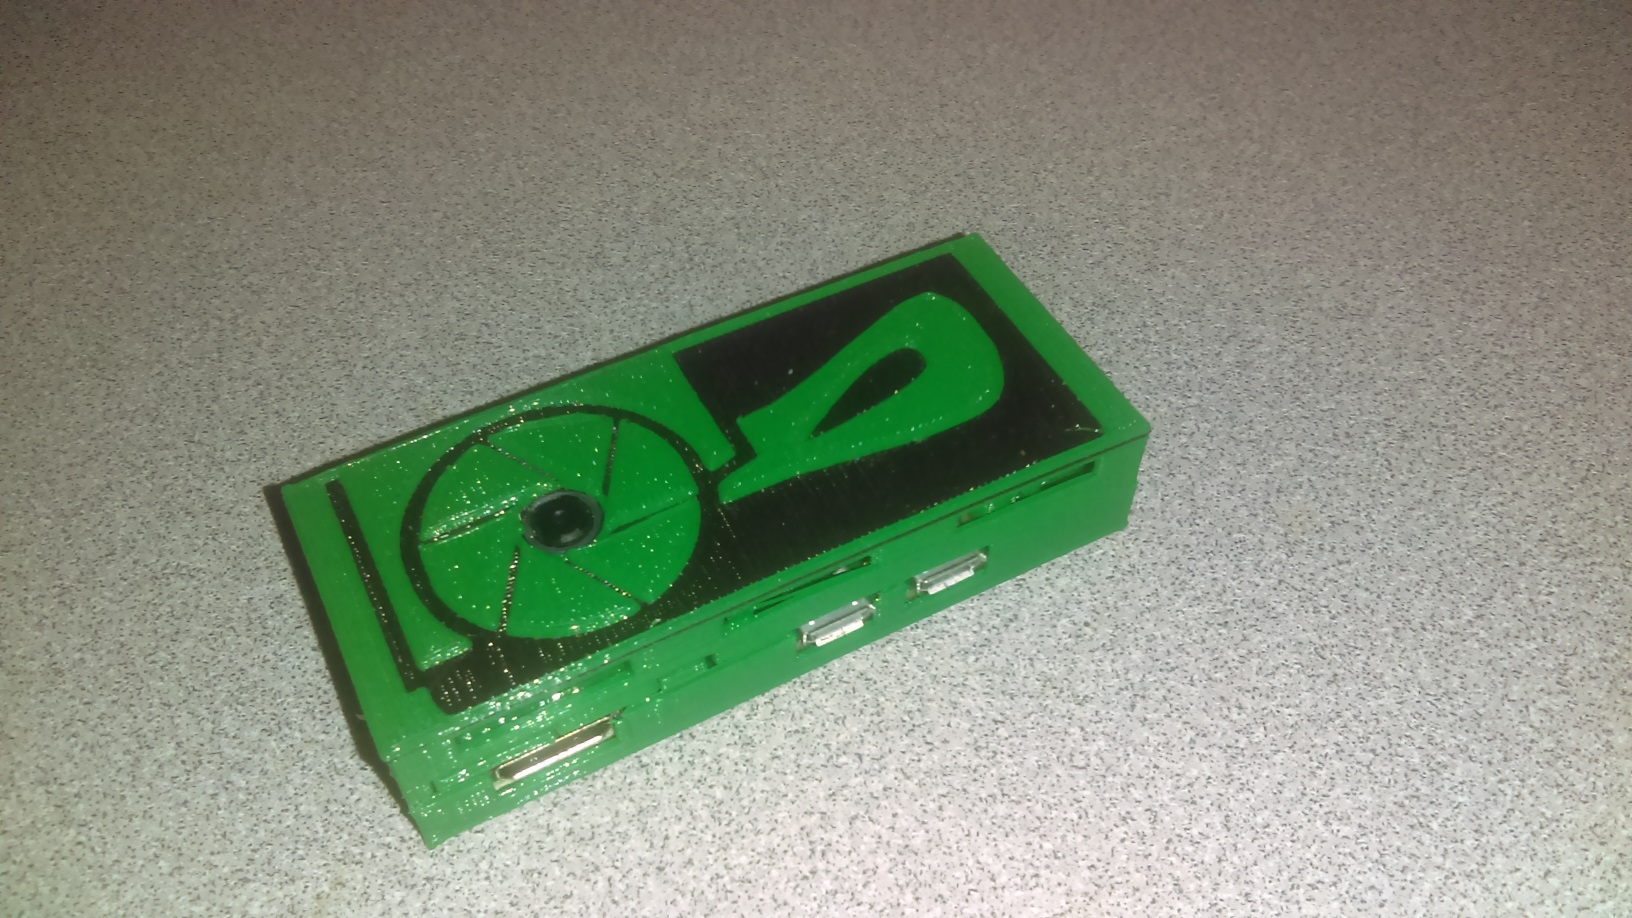
Step 1: Insert the SD card into the Raspberry Pi Zero W.
Step 2: Face the camera up and the bracket flat-side down and slide the camera in to the side of the bracket.
Step 3: Snap the camera bracket gently but firmly into the lid, making sure the camera lines up with the hole in the lid.
Step 4: Plug in the ribbon cable to the DCI port at the end of the Pi.
Step 5: Snap the Pi Zero gently but firmly into the base, lining up the pegs in the base with the holes in the Pi.
Step 6: Line up the lid with the base and gently press them together, folding the ribbon cable as needed.
Software Setup
Build a Raspberry Pi DVR with noise cancelling motion detection
Additional Documentation